Latest Post
-
Tech Tips
Fix No Internet Secured Error: Windows 10/11 Guide
Fix 'No Internet Secured' Error on Windows 10 and 11: Step-by-Step Guide Picture this: You settle in for a quick…
Read More » -
Artificial Intelligence
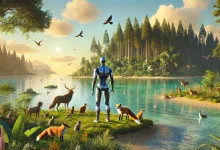
Best AI Video Generator Tools 2025 for Easy, Fast, and High-Quality Video Creation
Best AI Video Generator Tools AI video generators are changing the way we create videos. These tools use artificial intelligence…
Read More » -
Gadget

Windows Sidebar Gadgets History and Best Alternatives for Windows 10 and 11 in 2025
Exploring Windows Sidebar Gadgets Windows Sidebar Gadgets were once a handy feature that added small apps to your desktop for…
Read More » -
Laptop

Laptop Repair 2025: Easy Fixes and Care Tips to Keep Your Device Working Smoothly
Laptop Repair Laptops are our constant companions. They help us work, study, and unwind. But what happens when your laptop…
Read More » -
PC Components

CPU vs GPU: Key Differences, Performance, and How to Choose in 2025
CPU vs GPU When it comes to choosing or upgrading computer hardware, understanding the differences between a CPU (Central Processing…
Read More » -
Tech Tips

How to Reverse Video on Any Device: Quick Tips, Best Apps & Stunning Results 2025
How to Reverse Video: Create Surprising Clips in Seconds Video effects spark new ideas, turning everyday scenes into fresh stories.…
Read More »
Most Viewed
-
Tech Tips
How to Reverse Video on Any Device: Quick Tips, Best Apps & Stunning Results 2025
How to Reverse Video: Create Surprising Clips in Seconds Video effects spark new ideas, turning everyday scenes into fresh stories.…
Read More » -
Artificial Intelligence
Best AI Video Generator Tools 2025 for Easy, Fast, and High-Quality Video Creation
Best AI Video Generator Tools AI video generators are changing the way we create videos. These tools use artificial intelligence…
Read More » -
Review
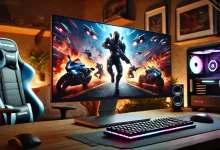
NVIDIA GeForce RTX 5090: The Ultimate GPU for Next-Generation Performance
NVIDIA GeForce RTX 5090 NVIDIA has once again redefined the gaming and professional graphics landscape with the launch of the…
Read More »